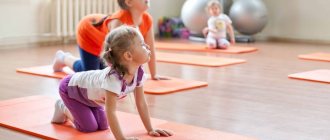
Most exercises aimed at improving the functioning of the musculoskeletal system have a standard structure in a sitting or lying position.
At the same time, exercises in a vertical position are not implied. It is because of this state of affairs that the child lacks movement, and this negatively affects his general condition.
Recently, the number of diseases associated with the musculoskeletal system has increased significantly. In turn, such statistics have become a serious cause for concern.
Therefore, using knowledge about human reserve capabilities, specialists began to improve the existing form of rehabilitation. Moreover, a significant advantage of the technique is the rehabilitation of the patient through physical development, rather than treatment with medications.
Features of the Gross simulator
To help in the rehabilitation of children with cerebral palsy, experts have developed a Gross simulator.
This is modern technology that helps you move around the entire space. In addition, with the help of such a simulator you can perform rotations around its axis.
At the same time, the mobility of the child’s legs and arms will not be constrained, and special elements provide insurance that prevents falls.
If comprehensive classes are conducted regularly, this is necessary to improve the lives of children with cerebral palsy and increases their chance of adaptation in society.
Before the introduction of the new invention, the technique, like the Gross simulator itself, was tested. The subjects were children of primary and preschool age with damaged musculoskeletal systems.
Thus, with an increase in the load that the child can withstand, correct motor skills are formed.
After such classes, children with cerebral palsy are able to walk, sit, stand, and hold their head in the correct position.
Exercise equipment to relieve spasticity, strengthen muscles, improve coordination
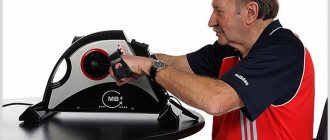
This category includes various massage mats, special bicycles, treadmills and a whole range of devices that are used in therapeutic physical education (PT) to improve the general condition of the child.
Examples of rehabilitation equipment in this category: massage mat, dry pool, Rifton bicycle.
What is the Gross device used for?
Currently, the Gross simulator is actively used to teach the patient statics and movements. In addition, it solves some other problems:
- muscle relaxation if hyperkinesis and hypertonicity are noted;
- normal mobility of the limbs is ensured and the functions of the muscles at rest are stimulated;
- coordination abilities develop;
- occurs in the regulation and proportioning of dynamic, spatial and temporal movements .
In addition, using the Gross simulator, it is possible to restore the mobility of patients after spinal cord injuries, diseases of the musculoskeletal system, stroke and cerebral palsy.
First of all, the simulator creates the conditions for the opportunity to easily develop the functioning of motor skills and the musculoskeletal system, and also allows you to stabilize the ability to support.
That is, while working with the simulator, the formation of those movement patterns that are absent in the patient occurs.
What capabilities does the simulator have?
Functionality:
- Classes with the simulator provide clear programming of the structure of performing any body movements , as well as the magnitude of the loads and their nature.
- During training, muscle work modes are used . It is almost impossible to use such opportunities without a simulator.
- In this case, there is a correct distribution and dosage of the load that is placed on the musculoskeletal system. These processes are carried out with such precision that they allow rehabilitation after injuries and disorders of motor functions.
For children with cerebral palsy, in addition to the simulator, a special methodology has been developed for conducting classes. Its complex includes not only classes on the Gross simulator, but also the use of other equipment, the use of massage and therapeutic exercises.
In order for the activities carried out to have the desired effect, it is imperative that all results and actions performed are recorded in a special diary.
It is recommended to carry out training only under the strict supervision of trainers. In some cases, the help of several specialists may be required.
This mainly happens when it is impossible to perform the exercises on your own. After the technique has been carried out several times with professionals, a test of independent implementation of all activities follows.
Thanks to the method of training on the Gross simulator, the level of stiffness of the child is significantly reduced. At the same time, patients lose their fear of space and obstacles.
Recommendations for using the simulator:
- before each lesson, it is necessary to check all fasteners and connections for serviceability;
- Do not forget that the basic kit is only suitable for children under ten years of age;
- Under no circumstances should a child be left unattended.
Body games
Games with hands
For example, a specialist extends his hand to a child with the words:
. ” But the child’s hand goes to the side or back. Therefore, we begin our work with this movement. The instructions help the child focus on the movement and his sensations and become aware of them. “Your hand wants to play. Let's play with her. The hand has gone up, it is tense, hard, strong, so hold it there and strengthen this movement. I will count to 3 (5). On the count of three (five), you will make a very strong effort to hold it in this position and intensify the movement. Now relax her and let her rest. Now it’s soft, relaxed, heavy.”
Counting is necessary when performing the exercise, as it marks the beginning and end of the tension process, and the transition to the next stage - relaxation. The specialist touches the hand, but does not perform the exercise for the child. This gesture can mean “I’m with you” and helps the child concentrate on the processes that occur in this hand.
Hyperkinesis is an involuntary movement associated with increased muscle tone, that is, tension. The tension cannot continue constantly, and even if it intensifies. Therefore, after finishing the exercise (on the count of 3, 5), the hand relaxes. The child receives the first experience of voluntary tension and subsequent relaxation, which he is aware of. The exercise is repeated 2 more times. To better relax your hand, gently shake it. To do this, we gently hold the child’s elbow with our left hand, and with our right hand, holding the fingers, lightly shake it. You need to raise your arm (leg) no more than 7-10 cm from the surface on which the child is lying.
But the most important thing at all stages of working with the body is the active participation of the child himself, his involvement in the process, his awareness of what is happening with his arm, leg, body, etc. This is very important. Next, we go clockwise. Let's move on to the left hand. “What does this hand want?” We start with the movement that the child suggests. We repeat all the procedures: tension exercise and shaking for the left hand.
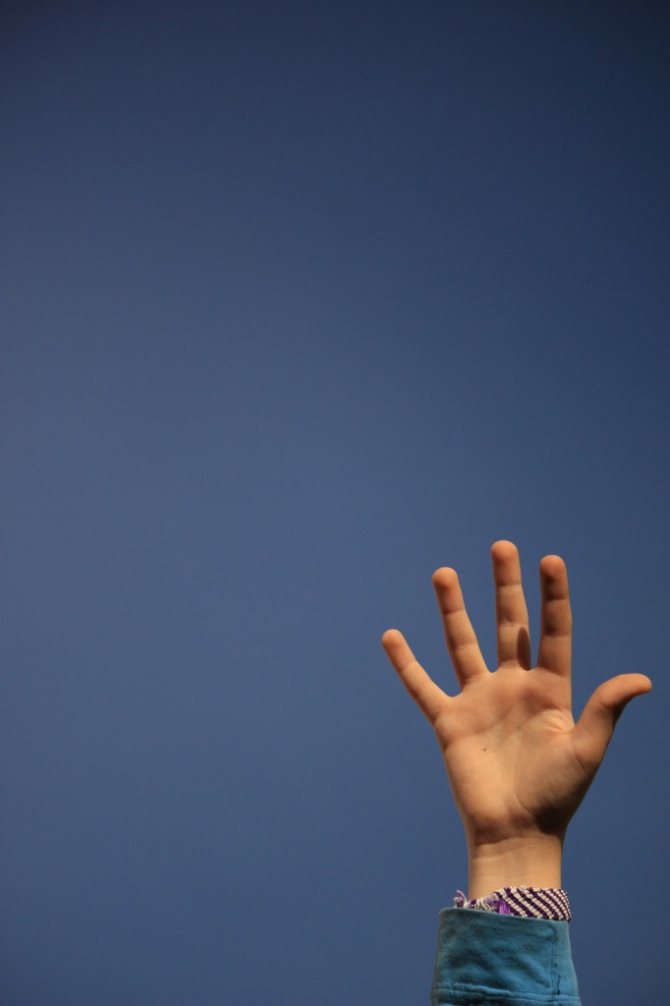
The following exercise is aimed at strengthening the child’s differentiation of sensations of tension and relaxation. "Pen-table"
. The child lies on the tatami. We help him stretch his right hand up and unclench his fingers (if the fingers do not unclench during the first lessons, we work with a fist). The specialist places his palm on the palm (fist) of the child, while fixing the elbow. By slightly pressing the palm (fist), we artificially create tension in the hand. We count to 5. Then carefully shake off the hand and leave it alone. We comment on what is happening: “At first the hand was hard, tense, but now it is soft, heavy, relaxed, it worked, and now it is resting.” We do the exercise 3 times. We do the same with the left hand.
Games with feet
We perform the first exercise, focusing on the needs of the body of a particular child.
Everything is like with hands. We perform each movement for 3-5 counts, 3 times. After each tension exercise, carefully shake off your legs. To do this, we hold the child’s leg under the kneecap with our right hand, and hold the toes with our right hand. Raise your leg 7-10 cm above the tatami surface and gently shake it. The following exercise will help reinforce your child’s experience of distinguishing between tension and relaxation. "Strong legs"
. The specialist kneels at the child’s feet. If possible, we straighten and lift the child’s legs, hold the knees with one hand so that the legs do not bend, and with the other we hold the foot and rest our stomach on the legs. As we count, we begin to lean forward, using the child’s legs as support, artificially creating tension. We hold the tension to 5. Now, helping the child relieve tension, we shake the legs (see above).
Games with the neck and head
We gently place our hands under the child’s neck, so that his head lies in his cupped hands, and carefully pull the neck towards us.
“Now I’ll shake your head.” The movements are slow and careful, 3-5 times. “Now let’s play with the head and neck. I turn your head to the right, and you hold it in this position a little.” Gently turn the child's head to the right, carefully fix it by placing his hand on the cheek, closer to the ear, and count to 3 (5). “Now my head lies straight and I’ll shake it again.” The specialist gently shakes the child's head. “Now let’s turn our heads to the left. And you hold her while I count to 3 (5).” And again soft rocking. We turn the head 3 times in each direction.
Similarly, we tilt the head forward and backward. The main thing is that the child maintains the given position until the end of the count. The specialist holds a little, helps to hold a little, sets the movement, but all this is in the first stages of work, when the child is just entering the process of working with the body.
Games with the body
We carefully take the child by the waist and, slightly lifting him up, rock him. Now the child is passive, he feels his spine being released from tension. We do the exercise 3-5 times. “Stretching”
exercise helps relieve muscle tension and harmonize the child’s internal energy.
"Vertical stretch"
. We start from the right side of the child's body. The specialist carefully holds his right hand at the wrist and his right leg at the ankle and begins to easily pull the arm up and the leg down. We count to 3. On the count of 3, the movement stops. It is very important to simply indicate the movement; the child performs it himself. We do the exercise 3 times. The specialist then moves to the left side of the child's body. The stretch is repeated 3 times on the left side.
"Diagonal stretch"
. It is performed in the same way as the “vertical stretch”, only the right arm is stretched with the left leg, and the left arm with the right leg. This is also done 3 times. You need to finish stretching by shaking your arms and legs. It is very good if a parent or other specialist is present at the lesson, then the arms and legs are shaken at the same time. One specialist shakes the child’s hands, the other shakes the child’s legs. If there is only one specialist working, then we shake the child’s hands first, then his legs.
The results of working with the body can be felt and assessed immediately: muscle tone changes, they become less tense, more relaxed. But the most important thing is that such work is perceived very positively by children, children play with great pleasure, cooperate with a specialist, other children and parents.
Very often, in the process of working with the body of a child with cerebral palsy, vibrations and muscle tremors occur in the arms and legs. A. Lowen paid special attention in the therapy process to inducing involuntary muscle contractions in the patient (muscle tremors, tremor, vibrations). Therefore, there is no need to be afraid of this. You need to draw the child’s attention to this process and let the process complete without trying to interrupt it: “Your leg is dancing. Feel this dance, let her finish it.” This way, according to Lowen, the movement of energy in the muscles is restored. And this indicates positive changes in the child’s body.
Such work with the body helps the child develop kinesthetic sensitivity, that is, the ability to perceive and analyze the movements of his own body, expand the range of movements, and recognize and control the needs of the body. Working with the body leads to the development of motor capabilities, improved coordination of movements, reduction of hyperkinesis and spasticity, improvement of breathing and the psycho-emotional state of the child.
Breathing exercises
We describe this stage of work in detail in the “Program” (See “Literature”, 6). After working with the body using psychophysical exercises, you can move on to motor exercises. These can be yoga exercises and psychodynamic meditations (see ibid.). We present a few more exercises that we came up with in the process of working with children with severe motor pathology.
Game motor exercises
“Leopard on the Hunt”
exercise after the “Good and Evil Cats” exercise (See “Literature”, 6).
"Leopard on the Hunt"
(author's)
Goal:
development of motor skills, coordination of movements, gaining new motor experience, forming a positive attitude towards oneself in a situation of success.
Contents:
Starting position: children sit on their heels with emphasis on their knees around the soft module.
“Once upon a time there lived a leopard. He was brave and dexterous and loved to hunt. But, at first, he sat in ambush so that no one would notice him and waited for prey (children group themselves: they lower their heads to their knees, facing the backs of their hands, the pose is relaxed, free). And then he sneaked up and jumped (children rise on their hands and, helping with their feet, fall onto the soft module).” In subsequent classes, the instructions are short: “The leopard hid, lurked (group). Now he creeps up (several movements with his hands, similar to the movements of a cat sharpening its claws). And jumps (jumping onto a soft module). Repeat 3 times. Equipment:
large soft module “Island”.

"Jackknife"
(from yoga)
Purpose:
development of coordination of movements, stretching of the spine,
Contents:
Starting position: lying on the right side - fetal position.
Then “the knife opened”: according to the instructions, children simultaneously stretch their arms up and legs down, holding themselves on their sides. The exercise is performed slowly, accompanied by calm music. Now the “knife” folds. Slowly, slightly relaxed, children pull their arms to their chest and their legs to their stomach. The “knife” folded. We perform the exercise 3 times on the right side. Then the children roll onto their left side and repeat the exercise 3 more times. Children with severe motor pathology in the first stages of work need help from parents or a specialist. Equipment:
sports tatami for each child.
"Sausage"
(author's. Many thanks to the girl Nadya for the idea)
Goal:
harmonization of the body's energy potential, development of coordination of movements, acquisition of new motor experience, work with fear of unusual movements.
Contents:
Starting position: lying on your back.
The specialist carefully fixes the ankles with his hands and begins to gently instruct the child’s body to turn to the right and left. Very slowly at first, then faster. Equipment:
sports tatami for each child.
Touch ball exercises
.
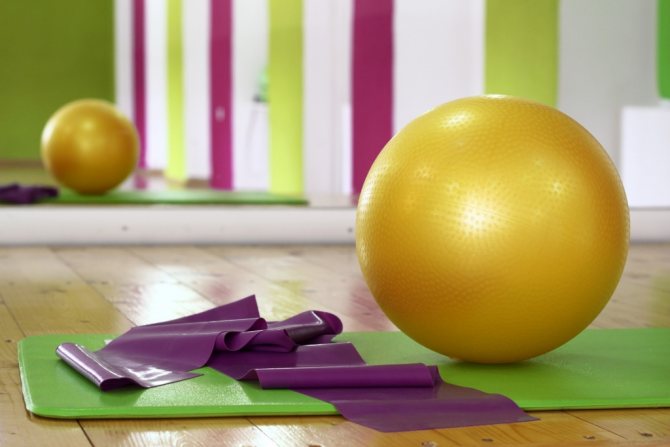
Attempts to adapt the energy exercises of A. Loewen “Loewen’s Arch” and “Loewen’s Arc” for children with severe motor pathology led us to improvisation using a touch ball. Goal:
harmonization of the child’s internal energy, removal of muscle tension, stretching of the spine.
Contents:
Place the child face down on the sensory ball.
We bring our hands under the stomach and gently rock it. This will help him relax his back. Then 3-5 soft, sliding hand movements along the spine from top to bottom, commenting: “The back relaxes, the body seems to spread over the ball.” Now, with soft, sliding movements, we move along the arms from the shoulders to the tips of the fingers: “The arms relaxed and hung,” also with the legs, we lead from the hip to the foot: “The legs relaxed and hung.” “The whole body is relaxed, as if it has flowed into a ball.” Next, you can swing the ball back and forth. We turn the child over, now he lies face up on the ball. We repeat the procedure. We finish by swinging on the ball. After a few lessons, you can finish with rolling on a ball, when you hold the child’s legs, and he tries to reach the floor with his hands, if this brings him pleasure. Equipment:
large sensory ball.
“Tower”
Goal:
development of concentration, activation of motor potential, improvement of self-esteem and self-attitude, formation of motivation for activity.
Contents:
A high tower is built from soft modules: the modules are placed on top of each other.
If the children can, they help build, if not, a specialist and parents build. A tower is built for each child. The child's task is to destroy the tower. Everyone present cheers him on and supports him. Equipment:
soft modules “Pebbles”.
"Free yourself!"
Goal:
increasing the child’s energy potential, overcoming fears and phobias, developing positive self-esteem and self-attitude.
Contents:
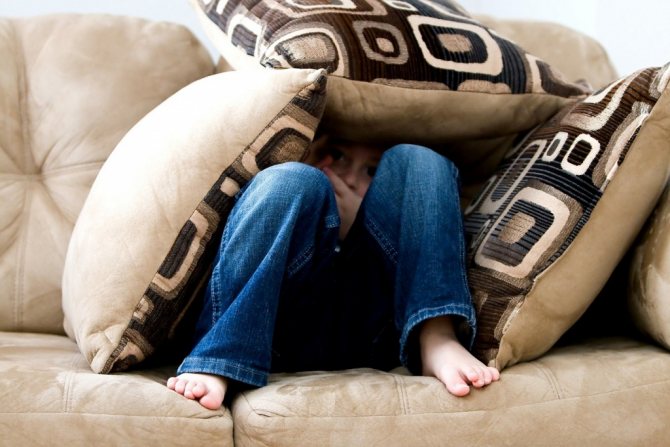
The child lies on a carpet or sports tatami.
The specialist explains: “Now we will cover you with pillows. I will count to 3, and then I will say: “Free yourself!” And on command you will try to scatter all the pillows as quickly as possible. The faster the better!". Equipment:
soft modules “Trapezium” 6 pieces.
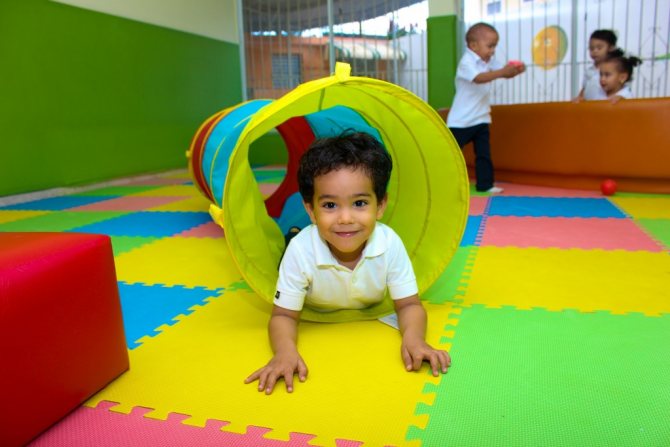
“Tunnel”
Goal:
increasing energy potential, improving psychophysical and emotional state and breathing, improving self-esteem and self-attitude, developing motivation for activity.
Contents:
We place the soft “Tumbleweed” module horizontally in front of the child, give instructions: “There is a tunnel in front of you, you need to crawl through this tunnel, and I (mother) will wait on the other side.”
We help the child, if necessary, to climb inside and move to the other end of the pipe. At this moment, emotional support and empathy are needed for the child. Equipment:
soft module-pipe “Tumbleweeds”.
Warning!
This is a very psychologically difficult exercise for children who were traumatized at birth and are afraid of confined spaces. Therefore, when performing it on a child, especially for the first time, the specialist must exercise maximum caution and monitor the children’s emotions. If a child shows anxiety, you need to help him quickly get out of the pipe, praise him, and say that it was not easy, but he did it. Overcoming your fear is not an easy task. As a rule, with proper support, already in the second lesson the child can cope with this task to a greater extent on his own.
“Rocket launch”
Goal:
increasing self-esteem, overcoming fears, phobias, developing motivation for activity.
Contents:
We build a staircase from soft “Pebbles” modules.
The highest module is the cosmodrome, from where the rocket (child) will be launched into space. Cosmos is a soft module “Island”, which is located behind the cosmodrome. In order to send a rocket into space—dropping a child onto a module—he needs to climb the stairs and prepare for launch. Of course, children cannot walk up the steps on their own; they are helped by a specialist and parents. But they try very hard to walk with their feet, get ready to fly, and on the count of 3 they fall onto the soft module. This exercise evokes a storm of positive emotions, delight from the previously unexperienced sensation of flight and landing by the child. Equipment:
soft module “Island”, soft modules “Pebbles”.
Each lesson ends with a 5-minute relaxation with the lights off using special equipment for the “Sensory Room”: the “Svetovokno” lamp, the tactile-light bubble column, the “Mercury” projector. Pleasant slow music comes on. Each child finds his own place to relax.
Practice-proven effectiveness
Today, the following indicators can be noted when using the simulator for children with cerebral palsy:
- 20% of children diagnosed with cerebral palsy acquired the ability to move independently;
- 30% were able to go to general education institutions;
- 40% went to specialized schools;
- 50% intensified verbal and emotional communication after classes;
- 70% were able to improve their mental state;
- 75%, thanks to the exercises, reduced the pathological activity of tonic reflexes;
- 85% corrected and improved coordination of movements;
- 90% activated the ability to move independently, signs of which were previously absent.
Simulators for developing and strengthening basic everyday skills
This category includes simulators for training twisting movements of the hands, fine motor skills, coordination of movements of the upper extremities, movements of grasping objects, movements of flexion and extension of fingers, to increase the mobility of the joints of the upper extremities, as well as for the development of basic everyday skills.
Examples of rehabilitation simulators in this category: a panel with pegs, a panel for occupational therapy, a developmental complex “Don”, a table for mechanotherapy.

Thematic dictionary
